
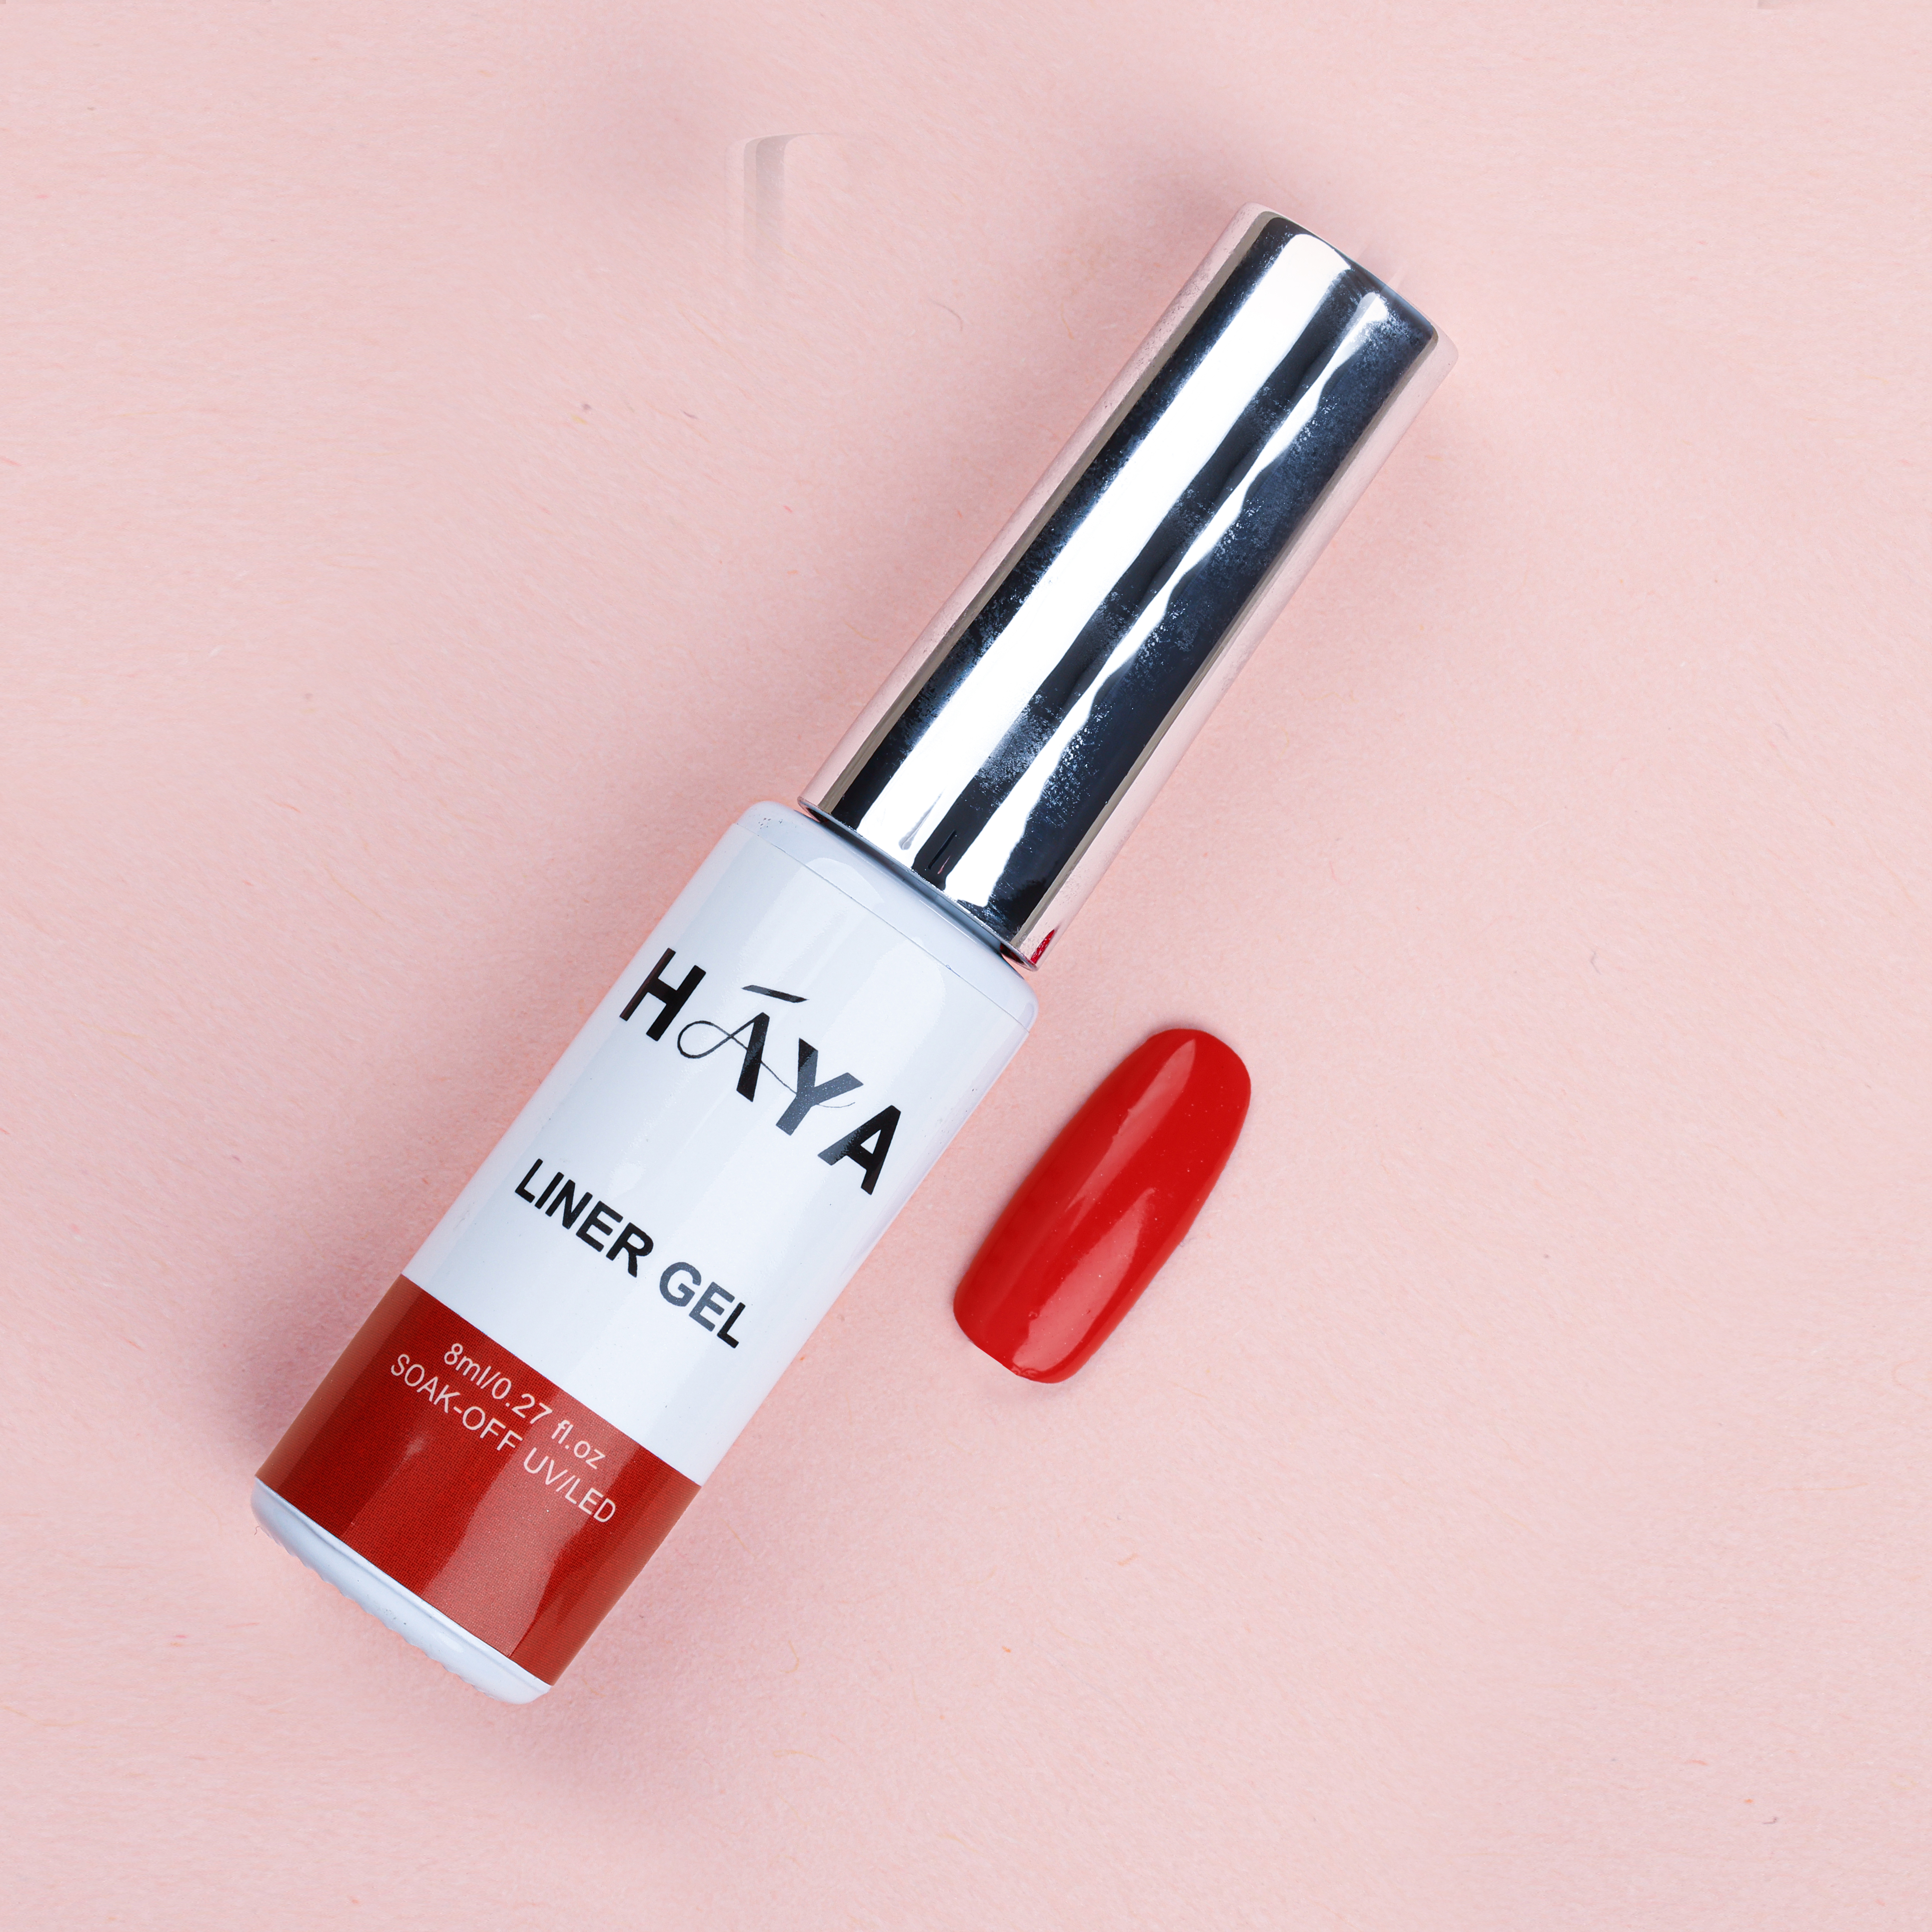

Liner gel
Step-by-Step Guide:
Prep your nails:
Apply the base coat:
Apply a thin layer of base coat and cure it under a UV/LED lamp as per the manufacturer's instructions. This will help the gel polish adhere better.
Apply your base color:
Load the liner gel:
Dip your fine liner brush into the liner gel, making sure to get a small amount.
Start creating designs:
For straight lines: Hold the brush at a slight angle and use steady pressure to create fine, clean lines. You can draw horizontal, vertical, or diagonal lines, depending on your design.
For detailed designs: Use the liner gel to create swirls, florals, geometric patterns, or any intricate artwork. You can also combine lines with dots, negative space, or other techniques.
Cure the design:
After completing your design, cure the nails under a UV/LED lamp to set the gel in place.
Top coat:
Apply a top coat over your entire nail to seal in the design and give it a shiny finish.
Cure the top coat under the lamp.
Clean up:
If necessary, use a clean-up brush dipped in a little alcohol or gel cleanser to tidy up any edges or excess gel around the nail.
Tips for Using Liner Gel:
Practice: It can take a little practice to get smooth, clean lines, so don’t be afraid to experiment.
Thin layers: Always apply gel in thin layers to avoid unevenness or curing issues.
Precision: Make sure to use a very thin brush for the most accurate and detailed work.
Add embellishments: Once your design is complete, you can add rhinestones, glitter, or other decorative elements for an extra touch.